
Image is a supporting factor for any web elements, ranging from the illustration of articles, pictures supporting articles and pictures that are used in web design. There are various types of image files, such as jpg, png, and gif. They are all have different characteristics and qualities, so how to choose the type of image file that is suitable for use on the website? In this post I will share some tips on optimizing images for web, the objective is that you can select the appropriate file type and image optimization to be smaller in size but still have good quality.
Choosing the right type of image file
As I mentioned earlier, there are many different types of image files, such as jpg, png and gif. Here I describe when a file type should be used:
JPEG
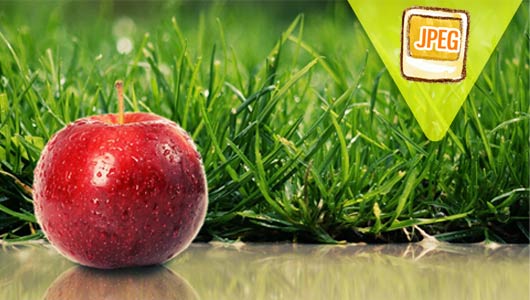
When the image you want to use - for example in an article or even a supporting element of web design has an assortment of colors or color high complexity e.g "photo shots", then you can use the JPEG file type.
JPEG file type usage in these conditions is very supportive because JPEG files can contain a variety of color information, and it can maintain image quality despite the small file size.
GIF
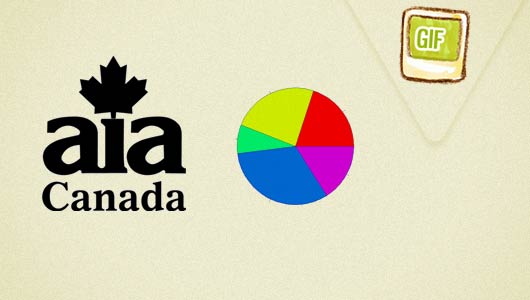
When an image has a little color, or some areas dominated by a single color, the gif image type is suitable for use. Examples of images that could have this type is the logo (simple logo), diagrams, and others.
PNG
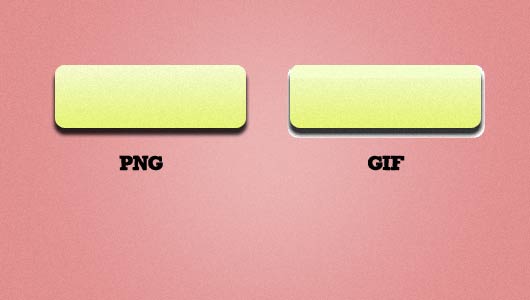
PNG file types can be used when the image has transparency. Although the GIF file type can have transparency but PNG file types better suited for this problem. gif type can only have 100% transparency value, while there are gradations of color that has transparency, GIF file types will have a low quality.
The example above is an example of transparency in the shadow area. the left is a PNG file and the right part is a GIF file (with transparency). PNG Transparency finer (transparency value can range from 0 to 100%) while the GIF has only 100% transparency value.
Optimized file formats for the web
By using imaging software such as Photoshop, every type of image file can still be optimized so that images have a low size and bandwidth friendly yet still has a high quality.
Optimizing Images For The Web With Photoshop
In photoshop, each time you want to save the image for web needs, be sure to save the image via: File -> Save For Web and Devices.
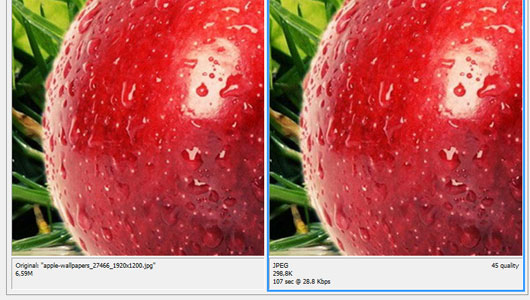
Set the preset, for example when you want to save the image with a JPEG file type, set the preset as follows:
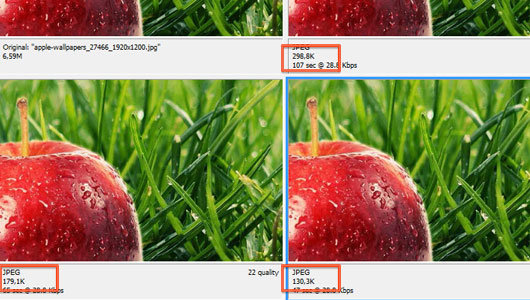
or you can also set the value of the "Quality", also note that the resulting size and picture quality through the preview pane.
To get transparency effect in PNG files, make sure you have a PNG-24 preset, otherwise the picture will have a white background.
Optimizing Images For The Web Using Third-party Sites
There are several websites that facilitate the needs of image optimization for the web, for example smush.it from yahoo. Sometimes the image that you thought was optimized through the previous steps it still can be optimized further by smush.it, so that the resulting files are smaller but still maintain quality.
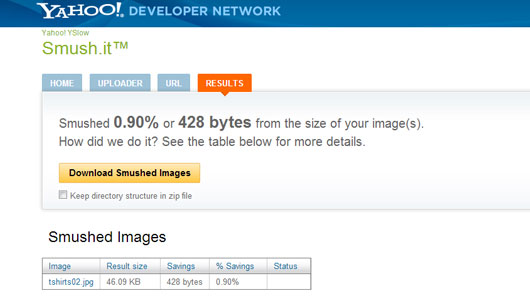
In the above example, I'm doing optimization for JPEG files, and the results can still be optimized by 0.90% so the image size is reduced by 428 bytes.
Optimizing Images For The Web Using HTML
Optimization through HTML image different from the previous optimization. In HTML you can help optimize the speed of loading images to determine the attribute 'width' and 'height' of the image. If you do not specify these two attributes, then when loading the image size will be calculated by the browser / CPU before being displayed, and it will take enough time when the image has a super size.
<img src="picture.jpg" alt="Optimizing Images for Web" width="200" height="300">
Do not resize the image size by width and height attributes
Never resize / resize images by specifying the width and height attributes, this method will only slow the loading process. Suppose you have a picture with the original size of 600 x 800px, but you only need the image to the size of 200 x 300px and you do the resizing with the width and height attributes.
The solution is, create different files for different sizes, do not change the size of the image using html attributes. Do not Ever!
Conclusion
Using the right type of image and write the image code appropriately (to include width and height attributes) can speed up loading time, beside the pictures that have been optimized will have a relatively small size but high quality. If the image has been optimized, you are not the only happy person, your visitors are also happy because faster sites improve user experience.


